Step into the captivating universe of Beginner Nail Artistry, where fingertips become the stage for a myriad of expressions. This journey unveils a vast spectrum of techniques and designs, each a testament to personal flair and creativity. Beyond mere embellishment, Beginner Nail Art serves as a gateway for novices to explore their artistic inclinations, crafting striking designs that captivate the eye.
From effortless elegance to intricate marvels, the realm of Beginner Nail Artistry sprawls with endless possibilities. Embracing foundational techniques forms the cornerstone for more intricate designs. Experiment with basic brushstrokes, playful dotting tools, and user-friendly stamping kits to effortlessly create captivating effects.
Let your imagination soar amidst a palette of nail polishes boasting an array of hues, textures, and finishes. Dive into the symphony of shades, explore gradients, and revel in bold contrasts while refining your skills. Approach nail adornment with an open mind, allowing inspiration to guide your hand as you fashion distinct and personalized designs.
Venture beyond the norm into a realm of unconventional materials and inventive approaches. Incorporate elements like tape, stickers, or household items to craft textures, shapes, and patterns that defy convention and entice the eye. The allure of Beginner Nail Art lies in its boundless prospects, where everyday objects become tools for artistic expression.
Mastering the art of nail design demands time, patience, and dedication. Embrace the learning curve, granting yourself the freedom to err and learn. Each stroke of polish and every attempt at design contributes to your evolution as a budding nail artist.
As you embark on this creative odyssey, find joy not just in the final masterpiece but in the therapeutic act of creation itself. Let your fingertips transform into a canvas, each stroke heralding the evolution from blankness to a dazzling work of art. Dive headfirst into the realm of Beginner Nail Art techniques, where simplicity meets magnificence, and creativity knows no boundaries.
Table of Contents
Nail Art Techniques for Beginners: Comprehensive Guide, Tips, and Do’s & Don’ts
| Aspect | Details | Do | Don’t |
|---|---|---|---|
| Tools Needed | Nail polish (various colors), nail art brushes, dotting tools, base/top coat, nail tape, nail stickers, nail polish remover. | Experiment with different tools for varied designs. | Rush through tool selection or settle for poor-quality tools that affect the outcome. |
| Design Ideas | Geometric shapes, ombre, polka dots, French tips, floral patterns, simple gradients. | Start with simpler designs to build confidence. | Overcomplicate designs from the get-go, making it challenging to execute. |
| Techniques | Layering, dotting, striping, stamping, sponge gradient, marble effect, freehand drawing. | Practice various techniques to find what works best. | Overload nails with too many techniques in a single design, leading to a cluttered look. |
| Color Choice | Experiment with contrasting, complementary, or monochrome color schemes. | Test different color combinations for unique looks. | Stick solely to basic colors or combinations, limiting creativity. |
| Preparation | Clean nails thoroughly, apply base coat for protection, use tape for clean lines. | Allow time for each coat to dry properly between layers. | Skip the base coat or apply nail polish on unclean nails, affecting the longevity of the design. |
| Finishing | Seal with a top coat for shine and protection, clean up edges with a small brush. | Try various finishes like matte or glossy topcoats for different effects. | Apply a top coat before the design is completely dry, risking smudging. Overlook cleaning up edges for a polished look. |
| Practice | Practice on artificial nails or nail wheels to refine skills before on actual nails. | Practice regularly to improve precision and technique. | Get discouraged by initial results; improvement comes with practice. |
| Inspiration | Pinterest, Instagram, YouTube tutorials, nail art books. | Draw inspiration from multiple sources to develop personal style. | Blindly replicate designs without understanding the techniques, stifling creativity. |
Getting Started: Nail Art for Beginners
Are you ready to dive into the vibrant world of nail art but don’t know where to start? No worries, because we’ve got you covered! Nail art can be an incredibly fun and creative way to express yourself. For beginners, it’s best to begin with simple techniques and easy designs that’ll have your nails looking stunning in no time.
Understanding the Basics
Before diving into intricate designs, let’s cover the basics. Start with clean, trimmed nails. Gather your essentials: nail polish (a variety of colors), a base coat, top coat, nail art brushes (or even toothpicks and tape can work!), and nail polish remover for any mistakes.
Simple Nail Art Techniques for Newbies
1. The Classic French Manicure Twist
- Instead of the traditional white tip, experiment with different colors or add a glittery touch. Use tape as a guide for clean lines.
2. Dots and Lines
- Dip a toothpick into nail polish to create various-sized dots or use a thin brush to craft clean lines and geometric shapes.
3. Marbling Magic
- Swirl different nail polish colors in a bowl of water and dip your nails for a marble effect. It’s easier than it looks!
Easy and Stunning Nail Designs for Beginners
1. Gradient Nails
- Apply different shades of the same color on a makeup sponge and dab it onto your nails for a smooth gradient effect.
2. Accent Nail
- Keep most nails simple and choose one nail to shine! Add glitter, studs, or a different design to make it pop.
3. Sticker Fun
- Nail stickers or decals are lifesavers! Stick them onto your nails for intricate designs without the precision required by hand.
Remember, practice makes perfect. Don’t fret over imperfections; they add character to your designs! Experiment with colors, techniques, and tools to find what works best for you. YouTube tutorials and Instagram are treasure troves of inspiration and tutorials for beginner nail artists.
Nail art is all about having fun and expressing yourself. So, gather your supplies, unleash your creativity, and let your nails be your canvas!
Step-by-Step Guide to Beginner Nail Art
Are you eager to create stunning nail art but feeling a bit overwhelmed? Fear not! Here’s a step-by-step guide to help you embark on your nail art journey with confidence.
1. Prepare Your Canvas
Start by prepping your nails. Trim and shape them, then gently push back your cuticles. Clean your nails and apply a base coat to protect them and make your nail art last longer.
2. Choose Your Design
Select a simple design for your first attempt. Maybe start with polka dots, stripes, or a basic floral pattern. Pinterest and nail art blogs can be your best friends for design inspirations!
3. Gather Your Tools
Grab your chosen nail polish colors, nail art brushes (or improvised tools like toothpicks or bobby pins), cotton swabs, and nail polish remover for any mistakes.
4. Begin Painting
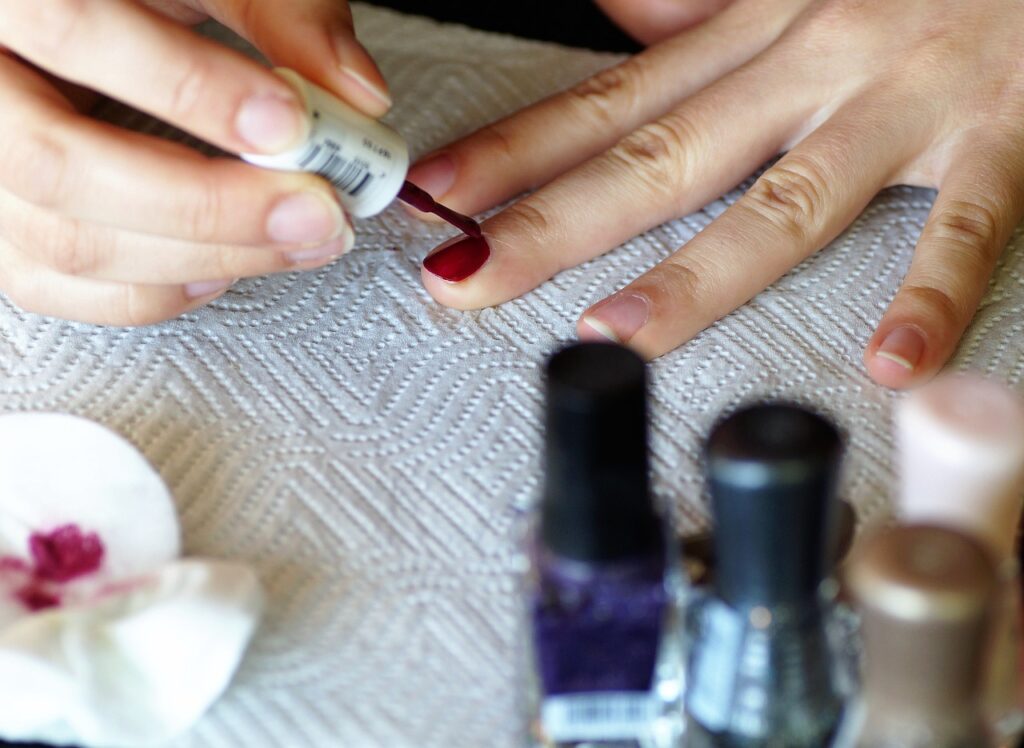
Apply your base color and let it dry completely. Then, with a steady hand, start adding your design. For dots, dip the end of a toothpick into the nail polish and dot it onto your nails. For lines, use a thin nail art brush or a striping tool.
5. Add Details
Once your design is in place, add any additional details or accents. A touch of glitter, rhinestones, or small decals can elevate your nail art.
6. Seal the Deal
Once everything is dry, apply a top coat to protect your design and make it last longer. Be patient and let the top coat dry completely to prevent smudging.
Exploring the Basics: Beginner-Friendly Nail Art
Nail art doesn’t have to be daunting. Starting with the basics allows you to get comfortable with techniques before diving into more complex designs. Some beginner-friendly techniques include:
- Stamping: Use stamping plates and a stamper to transfer intricate designs onto your nails effortlessly.
- Tape Method: Create clean lines or geometric designs by using tape as a guide while painting.
- Sponging: Achieve gradient effects by using a makeup sponge to blend different colors together.
Quick and Beautiful Nail Art Ideas for Starters
Short on time but still want fabulous nails? Here are a few quick ideas for stunning nail art:
- Color Blocking: Paint each nail a different color for a bold and trendy look.
- Minimalist Accents: A simple dot or a single stripe on a neutral base can look effortlessly chic.
- Ombre Nails: Blend two complementary colors for an elegant and easy-to-achieve gradient effect.
With these quick and beginner-friendly techniques, you can achieve gorgeous nail art in no time. Remember, practice and experimentation are key. Don’t be afraid to try new designs and techniques to find what works best for you!
Unveiling Beginner-Friendly Nail Art Secrets
Unlocking the world of nail art can feel like stepping into a magical realm, and guess what? You don’t need a wand; you just need some beginner-friendly secrets to get started!
1. Start Simple
Begin with basic designs like dots, stripes, or simple geometric shapes. These are easy to master and build your confidence.
2. Tools Matter
Invest in a few essential tools: nail polish in assorted colors, nail art brushes (or improvised tools like toothpicks), and some tape or stickers for clean lines and easy designs.
3. Patience is Key
Allow each layer of polish to dry completely before applying the next. Rushing can lead to smudging or an uneven finish.
Beginner Nail Art: From Basics to Wow!
Let’s take a journey from the beginner basics to jaw-dropping designs! As you gain confidence, experiment with:
1. Accent Nails
Paint most of your nails in one color and make one nail pop with a different design or a touch of glitter.
2. French Tips Reimagined
Try colorful tips instead of the classic white for a fun twist on the French manicure.
3. Mix and Match
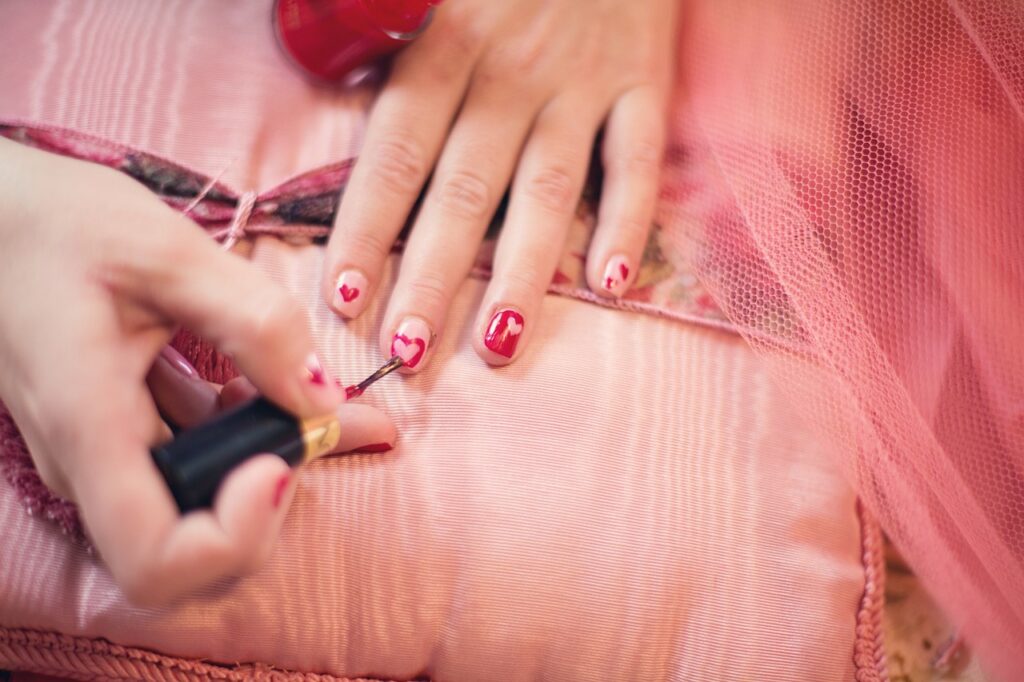
Experiment with different designs on each nail, from polka dots to stripes to tiny hearts. It’s a playful way to express your creativity.
Nail Art Made Easy: Tips for Beginners
Creating stunning nail art doesn’t have to be complicated. Here are a few tips to make it easier:
- Thin Coats: Apply thin layers of nail polish to prevent clumping and ensure faster drying.
- Clean-Up Trick: Use an old makeup brush dipped in nail polish remover to clean up any mistakes around your nails.
- Top Coat Magic: Always finish with a top coat to seal and protect your design.
Effortless Nail Art Techniques for Novices
Who said nail art had to be challenging? Here are some effortless techniques for novices:
- Water Marbling: Swirl different nail polish colors in water and dip your nails for a mesmerizing marble effect.
- Sticker Mania: Nail stickers or decals can transform your nails in seconds without any artistic skills required.
- Stamping Fun: Utilize stamping plates and a stamper to effortlessly transfer intricate designs onto your nails.
Remember, the beauty of nail art lies in creativity, experimentation, and embracing imperfections. Let your nails tell your story!
Final Thoughts
Congratulations on taking the first steps into the colorful and creative world of nail art! As a beginner, you’ve unveiled the secrets, mastered the basics, and discovered that nail art isn’t just about painting nails—it’s a form of self-expression and a canvas for your imagination.
Starting with simple techniques like dots, stripes, and accent nails, you’ve learned that nail art is accessible to everyone. It’s about finding joy in the process and embracing the learning curve.
Remember, patience is your best friend in this journey. Each stroke of polish, every new design attempted, is a step toward honing your skills. Don’t be discouraged by imperfections; they add character to your creations.
You’ve explored tips and tricks to make nail art easier, from using the right tools to applying thin coats of polish and finishing with a protective top coat. The effortless techniques you’ve discovered, like water marbling and nail stickers, have shown you that stunning nail art doesn’t have to be complicated.
Most importantly, embrace your uniqueness. Your nail art is an extension of your personality. Whether it’s a minimalist design or a bold, intricate masterpiece, let it reflect who you are.
So, keep experimenting, keep practicing, and most importantly, have fun with it! Let your nails be your canvas, and let your creativity shine through. The world of nail art is vast and ever-evolving, waiting for your personal touch.
Now, armed with newfound knowledge and inspiration, go ahead and create your next nail art masterpiece. The only limit is your imagination!
If you ever need more tips, inspiration, or guidance on your nail art journey, remember that creativity is just a brushstroke away. Enjoy the colorful adventure ahead!
FAQs
1. What are some essential tools needed for beginner nail art?
Essential tools include nail polish in various colors, a base coat, top coat, dotting tools, nail art brushes, striping tape, nail decals, and nail polish remover for cleanup.
2. How can I create simple yet impressive designs as a beginner?
Start with basic techniques like polka dots, stripes, or color blocking using tape. Experiment with ombre effects, marble designs, or simple floral patterns for an elegant look.
3. Are there any easy nail art techniques suitable for shorter nails?
Absolutely! Short nails can still rock nail art. Consider minimalistic designs like geometric shapes, negative space art, or accent nails with intricate patterns while keeping it subtle.
4. How do I ensure my nail art lasts longer?
Always use a base coat to protect your nails and a top coat to seal in the design. Avoid hot water immediately after applying nail art, and wear gloves during chores to prevent chipping.
5. What are some trendy nail art techniques for beginners?
Gradient nails, glitter accents, matte finishes, and abstract designs are currently popular. Try experimenting with textures like velvet or sugar finishes for a unique touch.
6. Can I create nail art without special tools?
Absolutely! Use household items like bobby pins, toothpicks, or even makeup sponges to create dots, lines, or gradient effects. Experimenting with these can yield surprisingly beautiful results.
7. How can I fix mistakes while doing nail art?
Dip a small brush or cotton swab in nail polish remover to clean up around the edges. For larger mistakes, cover them up with additional nail art or a glitter accent.
8. What is the best way to start learning nail art techniques?
Begin with simple tutorials available online or enroll in a beginner’s nail art class. Practice regularly and don’t be afraid to try new designs or techniques.
9. How can I make my nail art stand out?
Experiment with different color combinations, textures, and finishes. Add embellishments like rhinestones, studs, or stickers for extra flair.
10. Any tips for maintaining healthy nails while doing nail art?
Moisturize your nails and cuticles regularly. Take breaks between manicures to let your nails breathe, and always use a gentle nail polish remover to avoid drying out your nails.


